![]()
![]()
![]()
![]()
Rail lubrication in Nikon Super Coolscan LS-8000 and LS-9000 scanners
The film tray carriage in Nikon LS-8000 and LS-9000 scanners is moved by a worm screw along two steel rails. The carriage has brass bushings on one side (for one of the rails), and simple opening in plastic body for another rail. The lubricant that Nikon used to put on these rails in LS-8000 was prone to drying up. This lead to carriage sticking/stalling which sometimes resulted in initialization failure, and sometimes in "tray not recognized" failure. I read somewhere that the lubricant was changed for LS-9000 model and this is no longer an issue. But whenever I open the scanner to clean the mirror etc., I inspect the rails and if they are dirty or look dry - clean and lubricate them.
1) Follow the first 3 steps of
Disassembly of Nikon Super Coolscan LS-8000
or first 4 steps of
Disassembly of Nikon Super Coolscan LS-9000
- to remove the outer shell and the front panel.
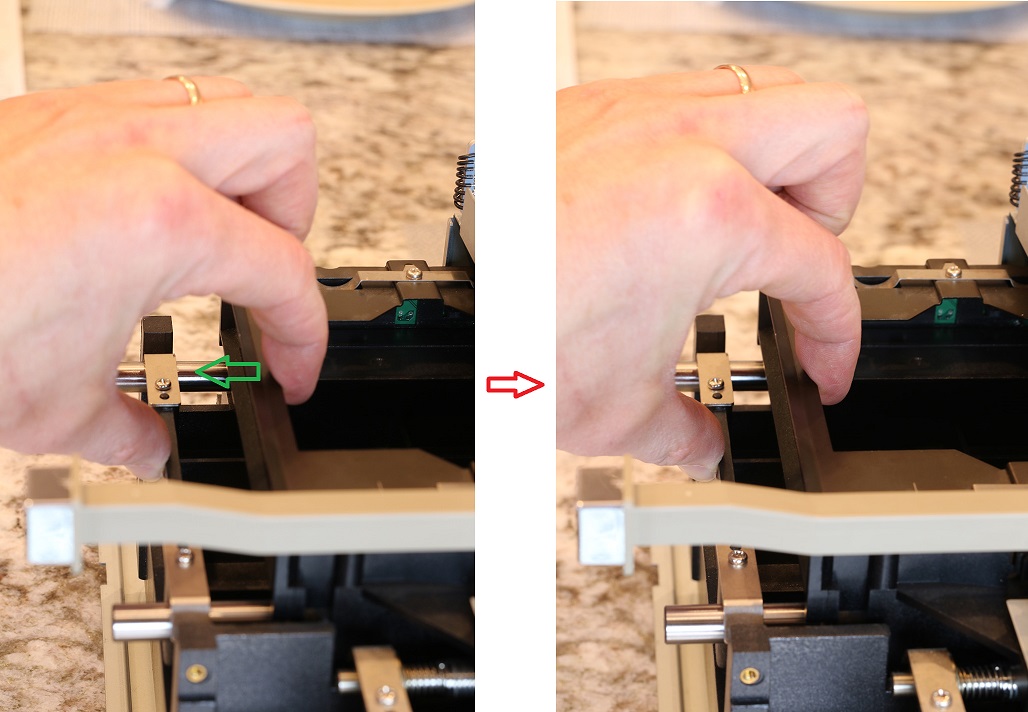
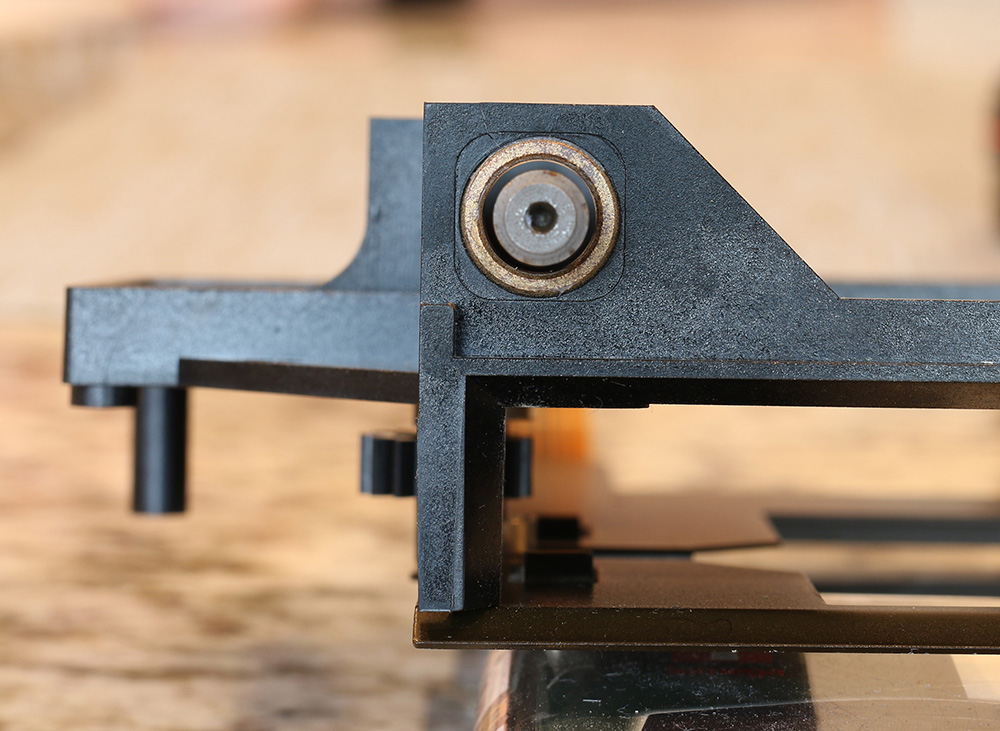
2) Now perform a simple test. Push the carrier with your finger in the direction indicated by the green arrow above. It should travel about 6mm (1/4"). Then release it. The carriage is spring loaded and it should easily and smoothly slide back into original position. If it is tight or, worse, if it binds, you need to clean and lubricate the rails (and may be even clean the bushings with a reamer - see below). If the carriage slides smoothly, it is probably OK. (I would still clean/lube the rails if that had not been done in years).
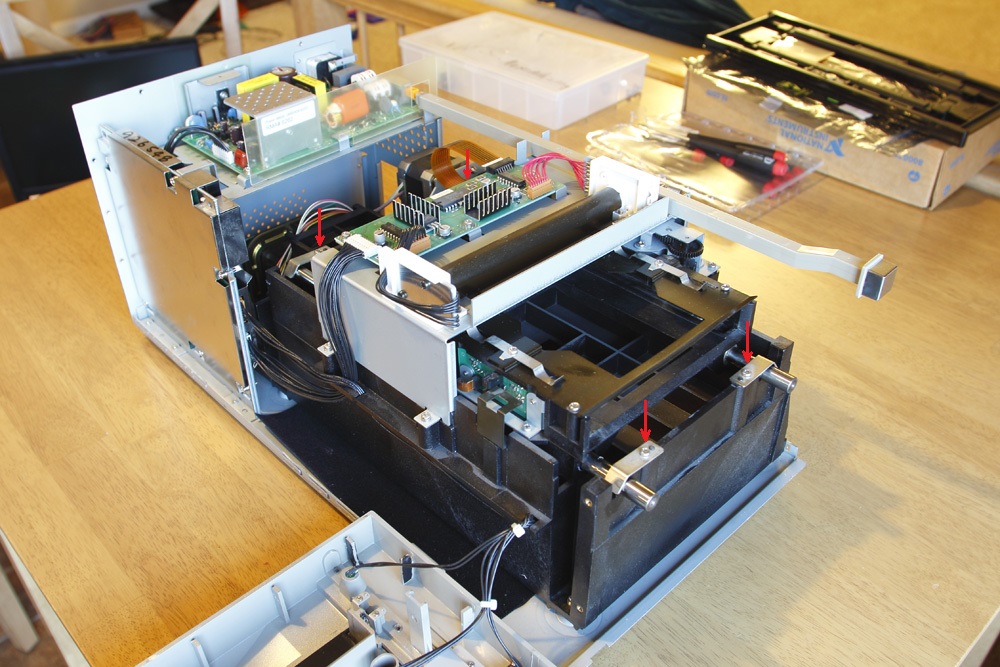
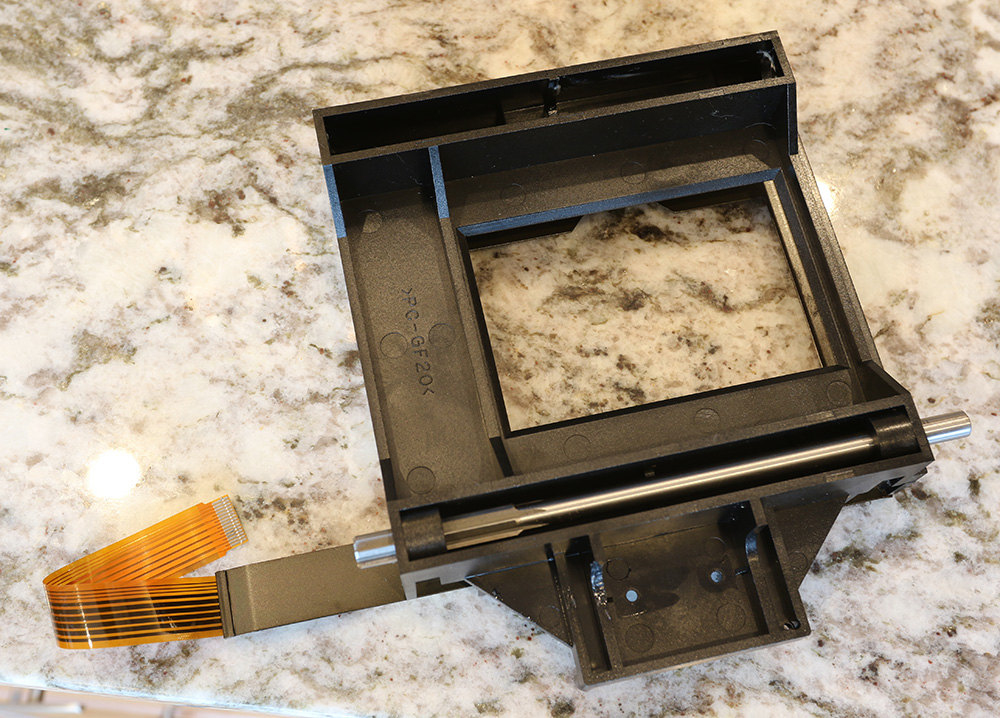
3) The rails are held in place by the brackets (two each) indicated by red arrows in the photo above. Work on one rail at a time. Remove two screws (back and front) and remove the rail.
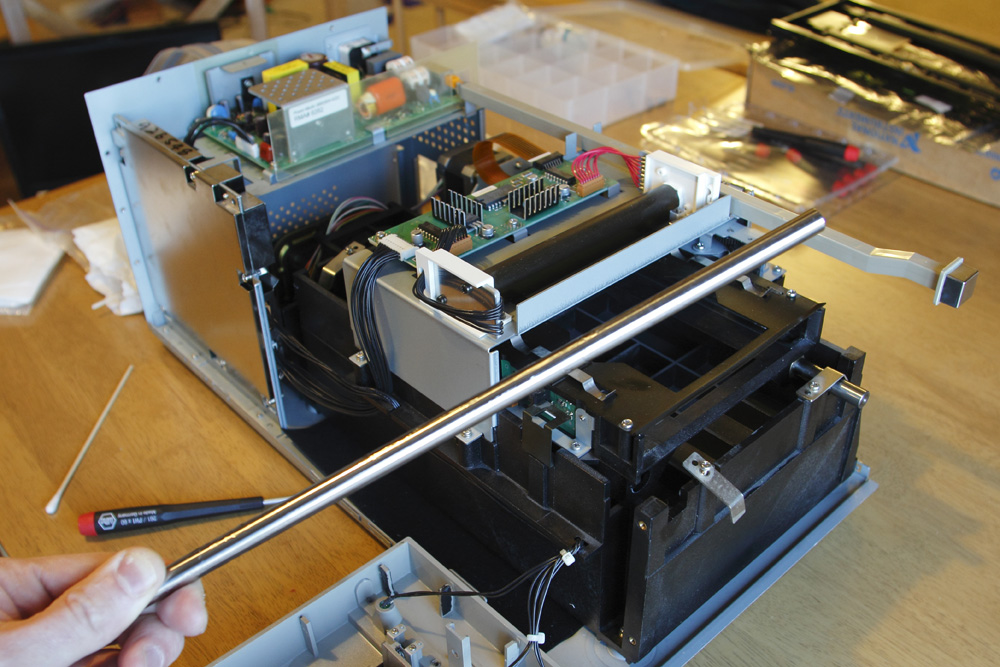
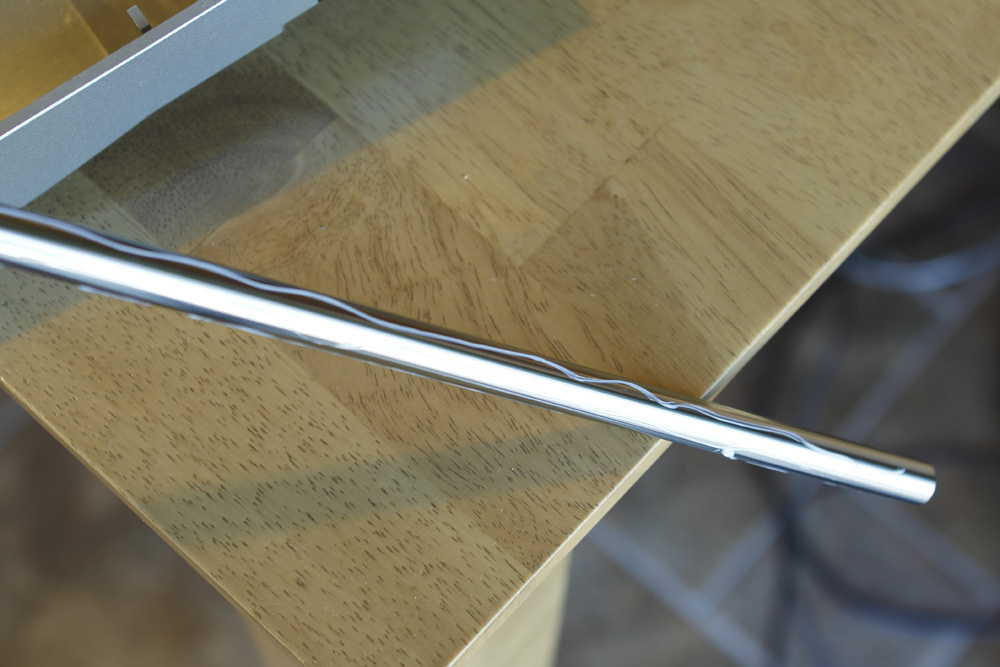
4) Clean the rail thoroughly with rubbing alcohol. Also clean the part of the carriage that slides along the rail with alcohol and Q-tip.
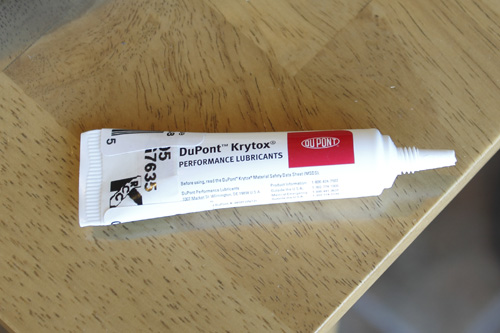
5) Lubricate the rail. Use a lubricant that will not dry easily. Vacuum grade silicon grease will work. I used Corning Silicon-based High Vacuum Grease, lately switched to DuPont Krytox GPL 205 Grease, that was recommended by J.Acton. I think either will work fine.
6) I first deposit some lubricant and then spread it by hand in latex or nitrile glove.
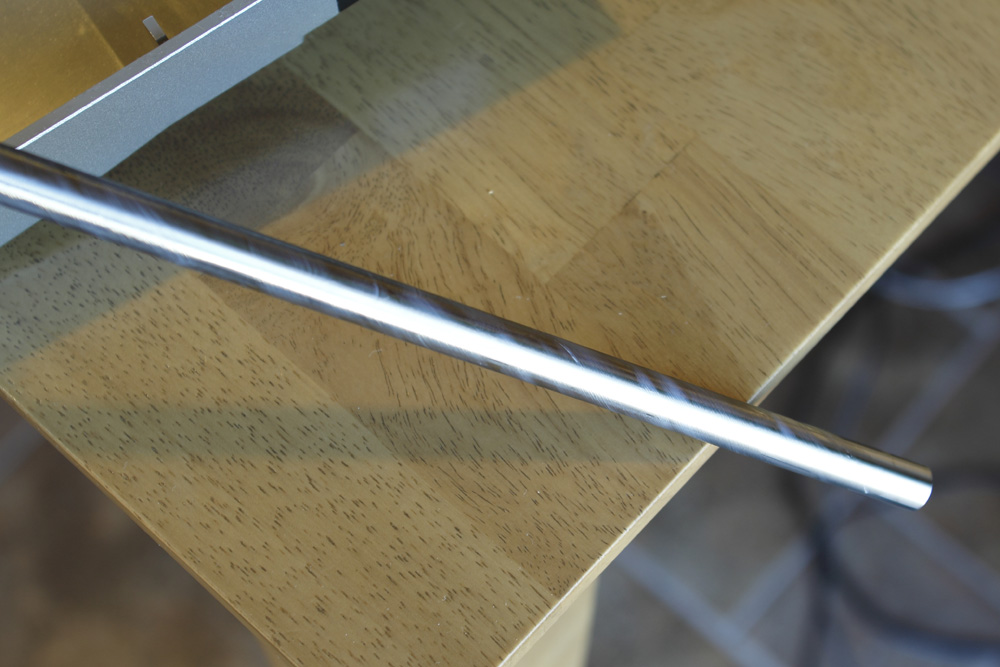
7) Once lubricated, slowly insert the rod back in its place I rotate the rods when inserting them, trying to get as much lubricant into the bushing as possible.
8) Replace the brackets holding the rods and clean/lubricate the other rod. Then perform the test outlined in the step 2) above. If the carriage slides back smoothly - you are good to go. If it is still tight - then either the brass bushings are dirty or warped, or the carriage is warped so that the bushings are not truly coaxial. In either case - you would have to clean (or straighten) them.
9) I used 10mm long handle reamer for this, see above. I do NOT think it is a good idea to use a file or a drill bit for that! Remember - these bushings have to be a close slip fit to the rails - NOT a loose fit!
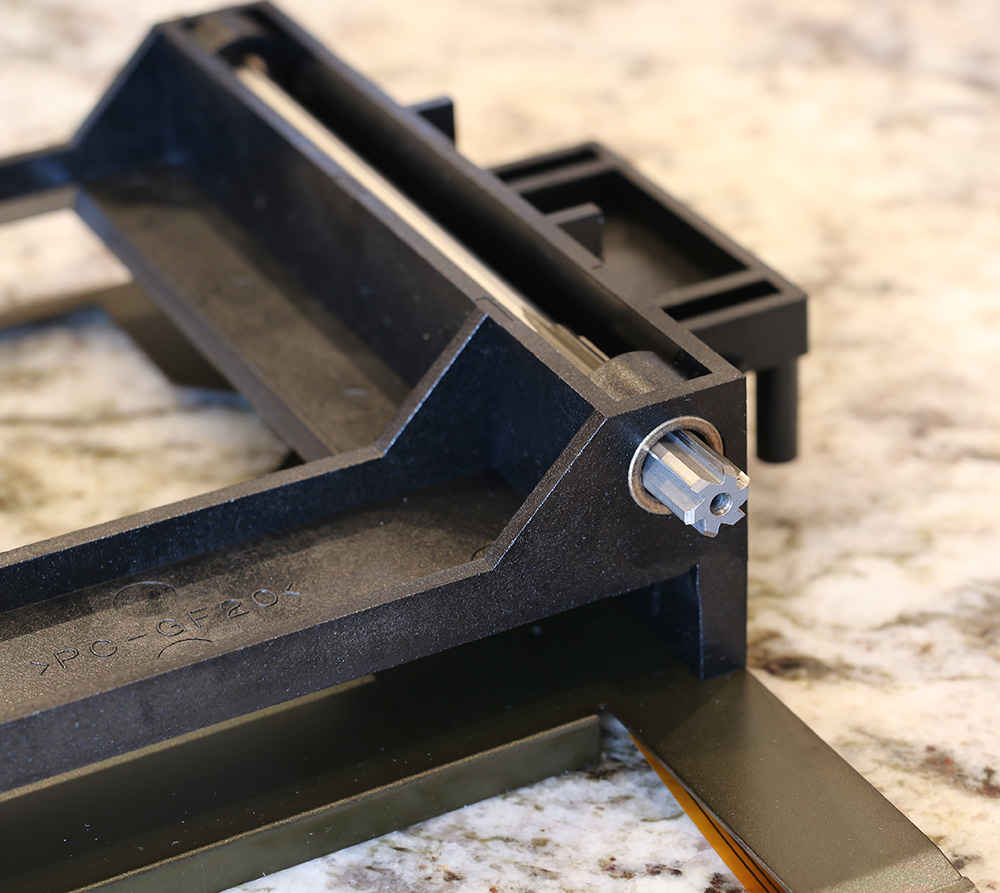
10) First, just clean each bushing so that the reamer rotates smoothly.
11) Finally, if you have a long handle reamer you can use it to check how coaxial the bushings are - and open one of them appropriately if needed.
12) Continue alternating the step 10 (or 10 and 11) with test (step 2) untill you have a clean slip fit.
13) Lubricate and re-assemble the scanner.